Creating Multiple Plural Clusters
Setting up a new cluster
There are many scenarios where it's useful to have multiple Kubernetes clusters running (e.g., a development and product cluster). For those users on paid tiers, Plural allows you to manage multiple clusters from a single UI.
Additional clusters are spun up using a unique Service Account for each new cluster. Service Accounts are assumable identities, specifically meant to facilitate group management of a set of installations. To spin up a new cluster, first create a new Service Account.
To create a service account, from https://app.plural.sh/, navigate to account, then service accounts.
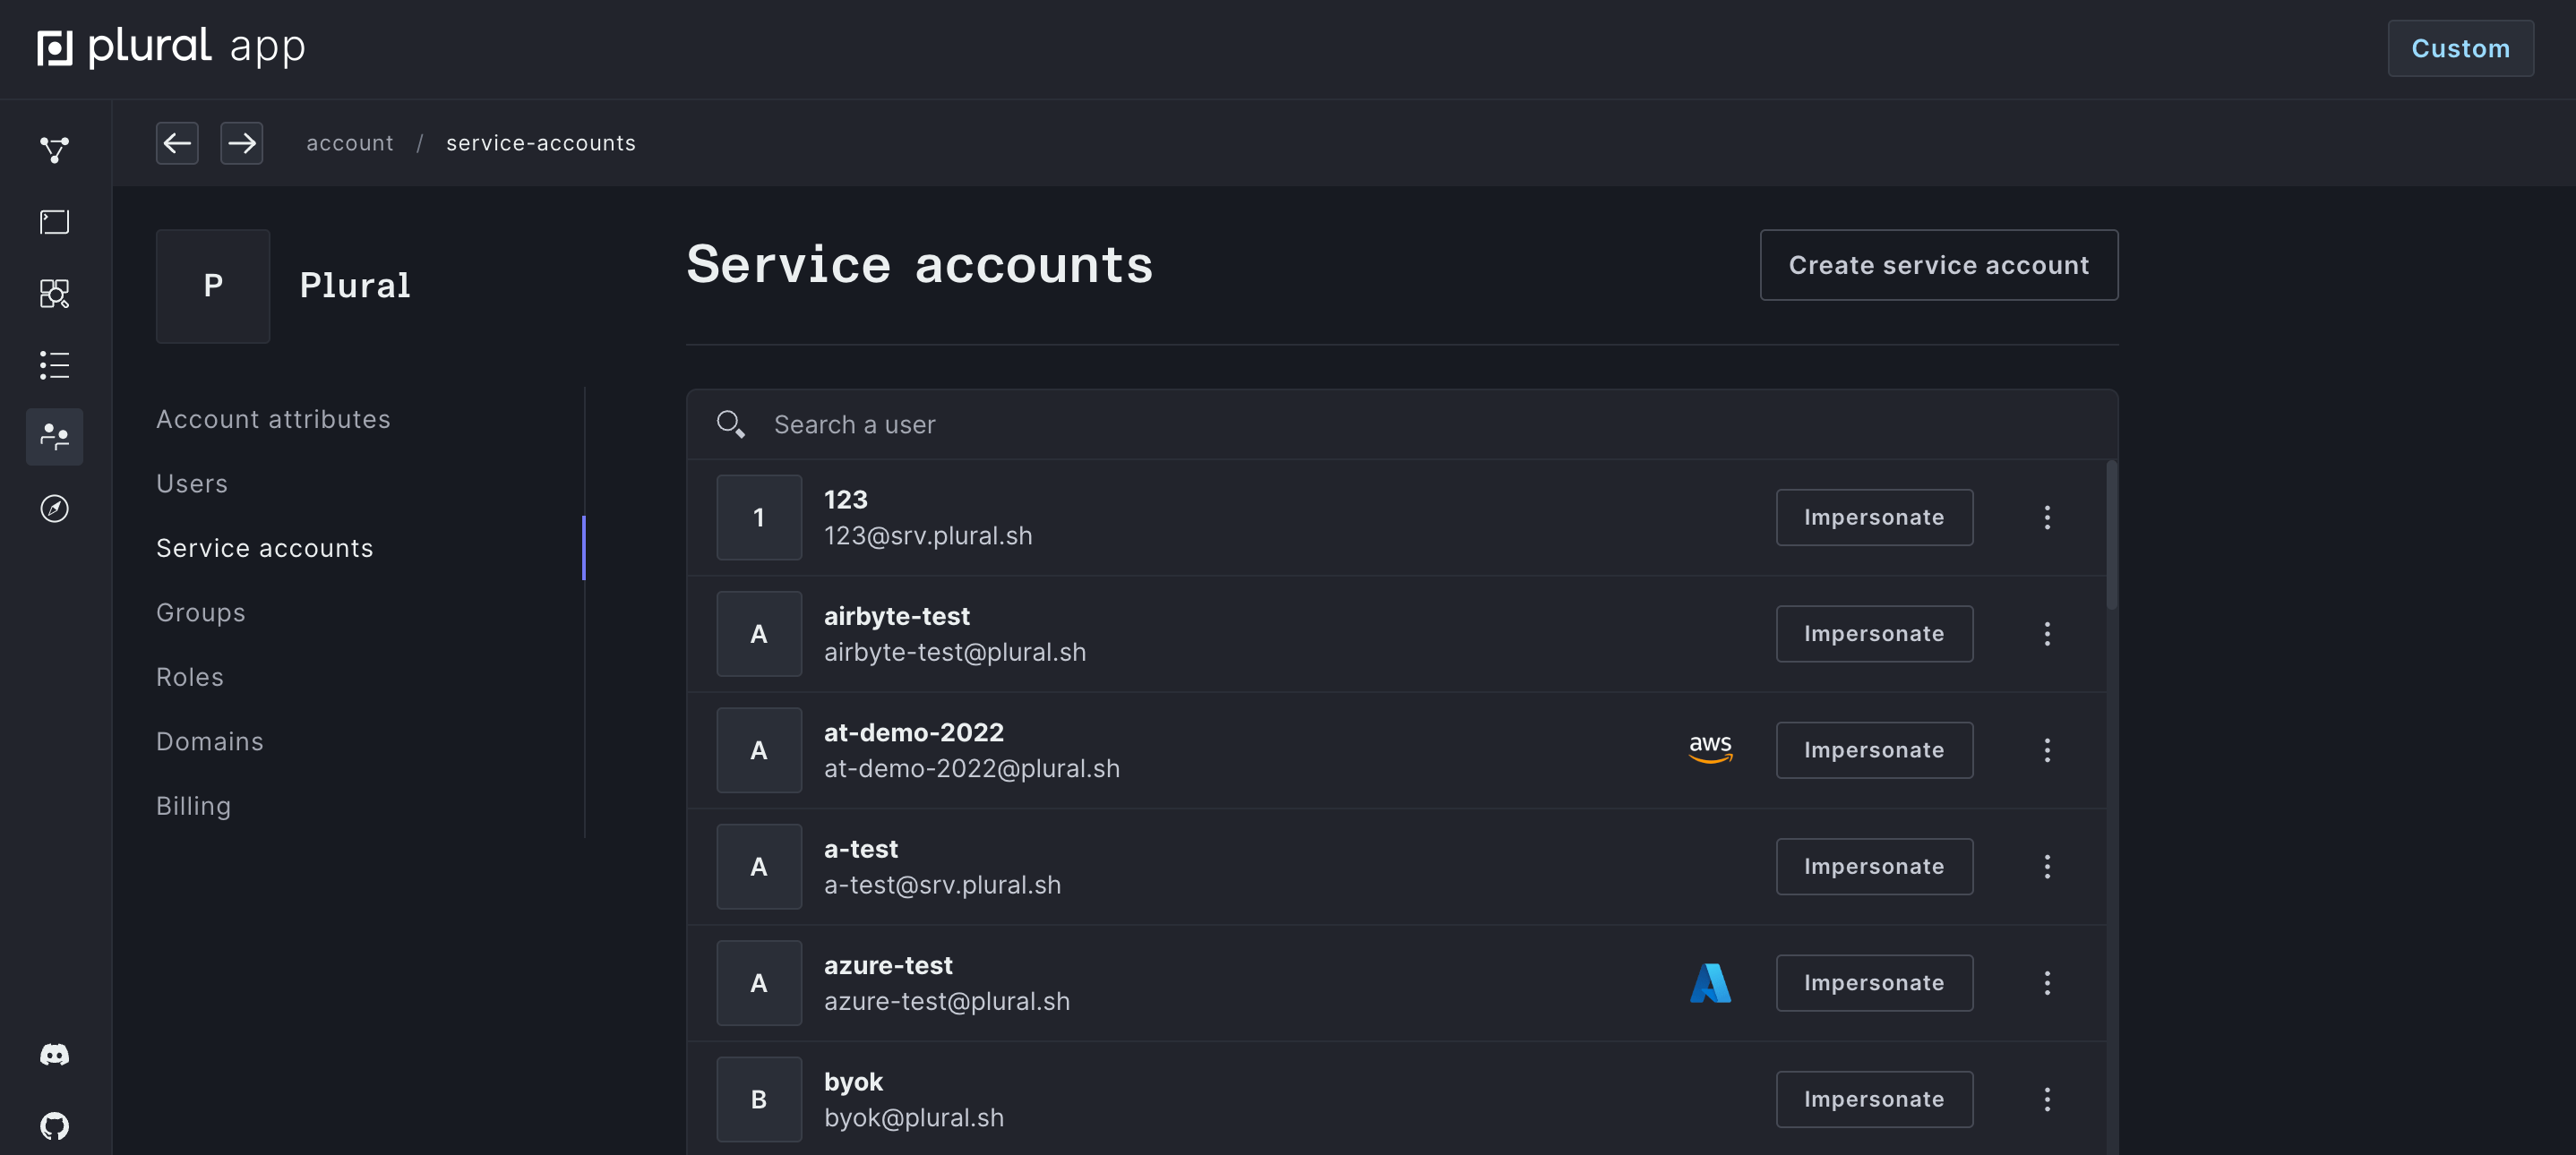
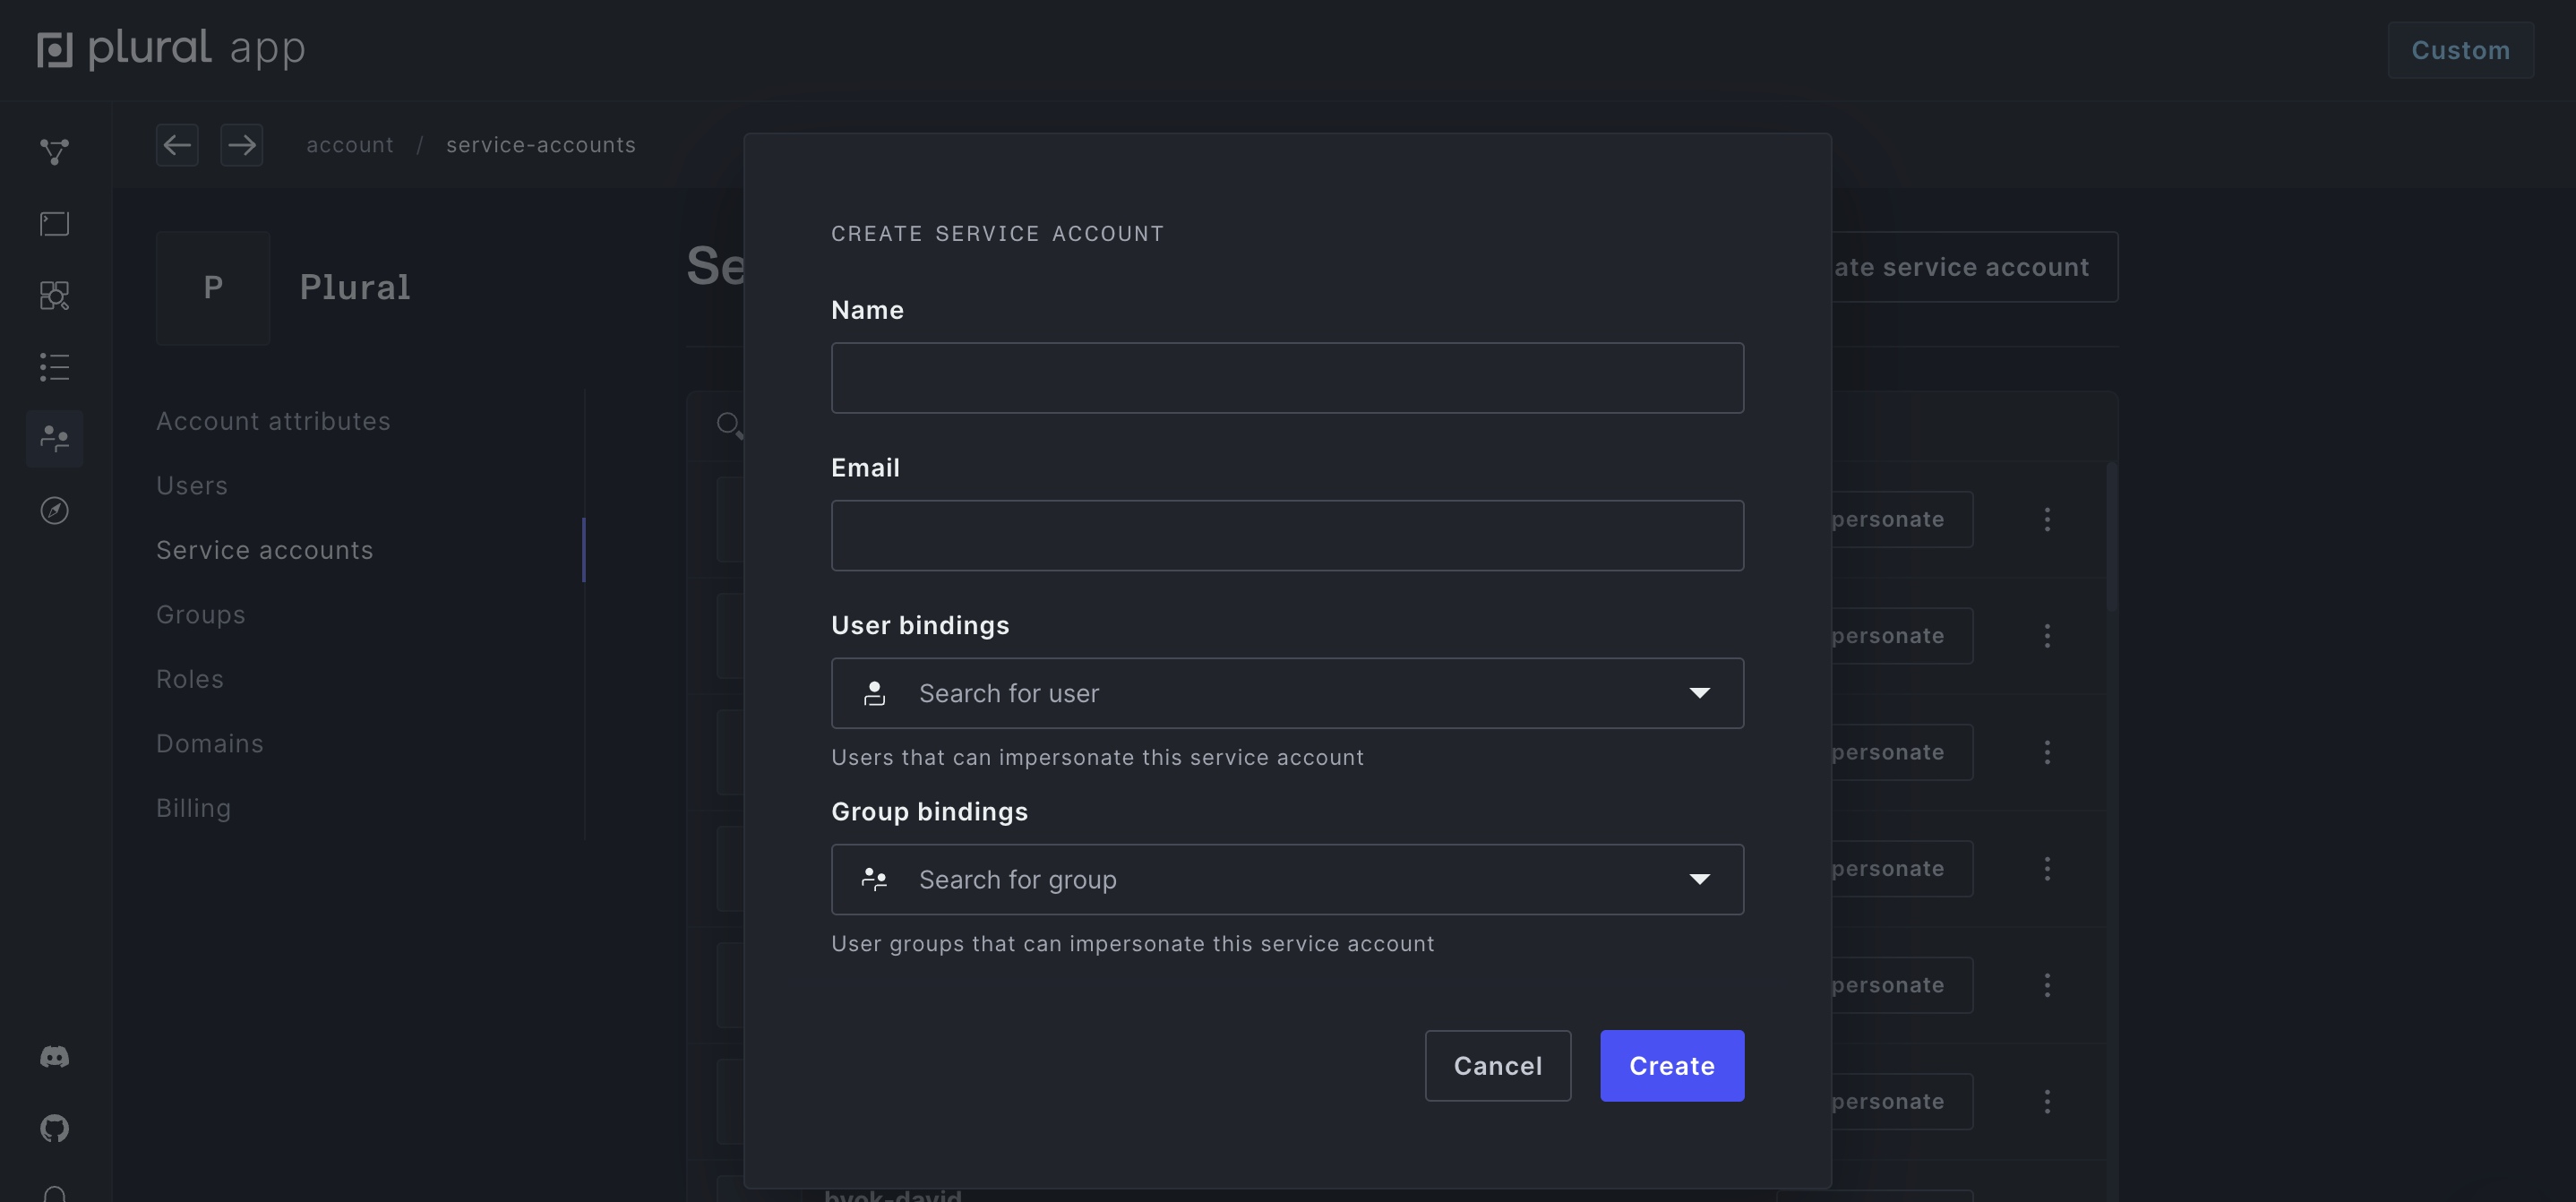
From here, you can create a new service account, and attach users or groups.
Once created, you can impersonate the service account by clicking the impersonate button in the dashboard, or via the CLI:
plural login --service-account <service-account-email>
In all other respects, service accounts behave just like normal Plural users, and will be present in audit logs, can be used in support chats, and, of course, can install and deploy applications just like users.
You can then create a new cluster on the Service Account via the Cloud Shell or CLI.
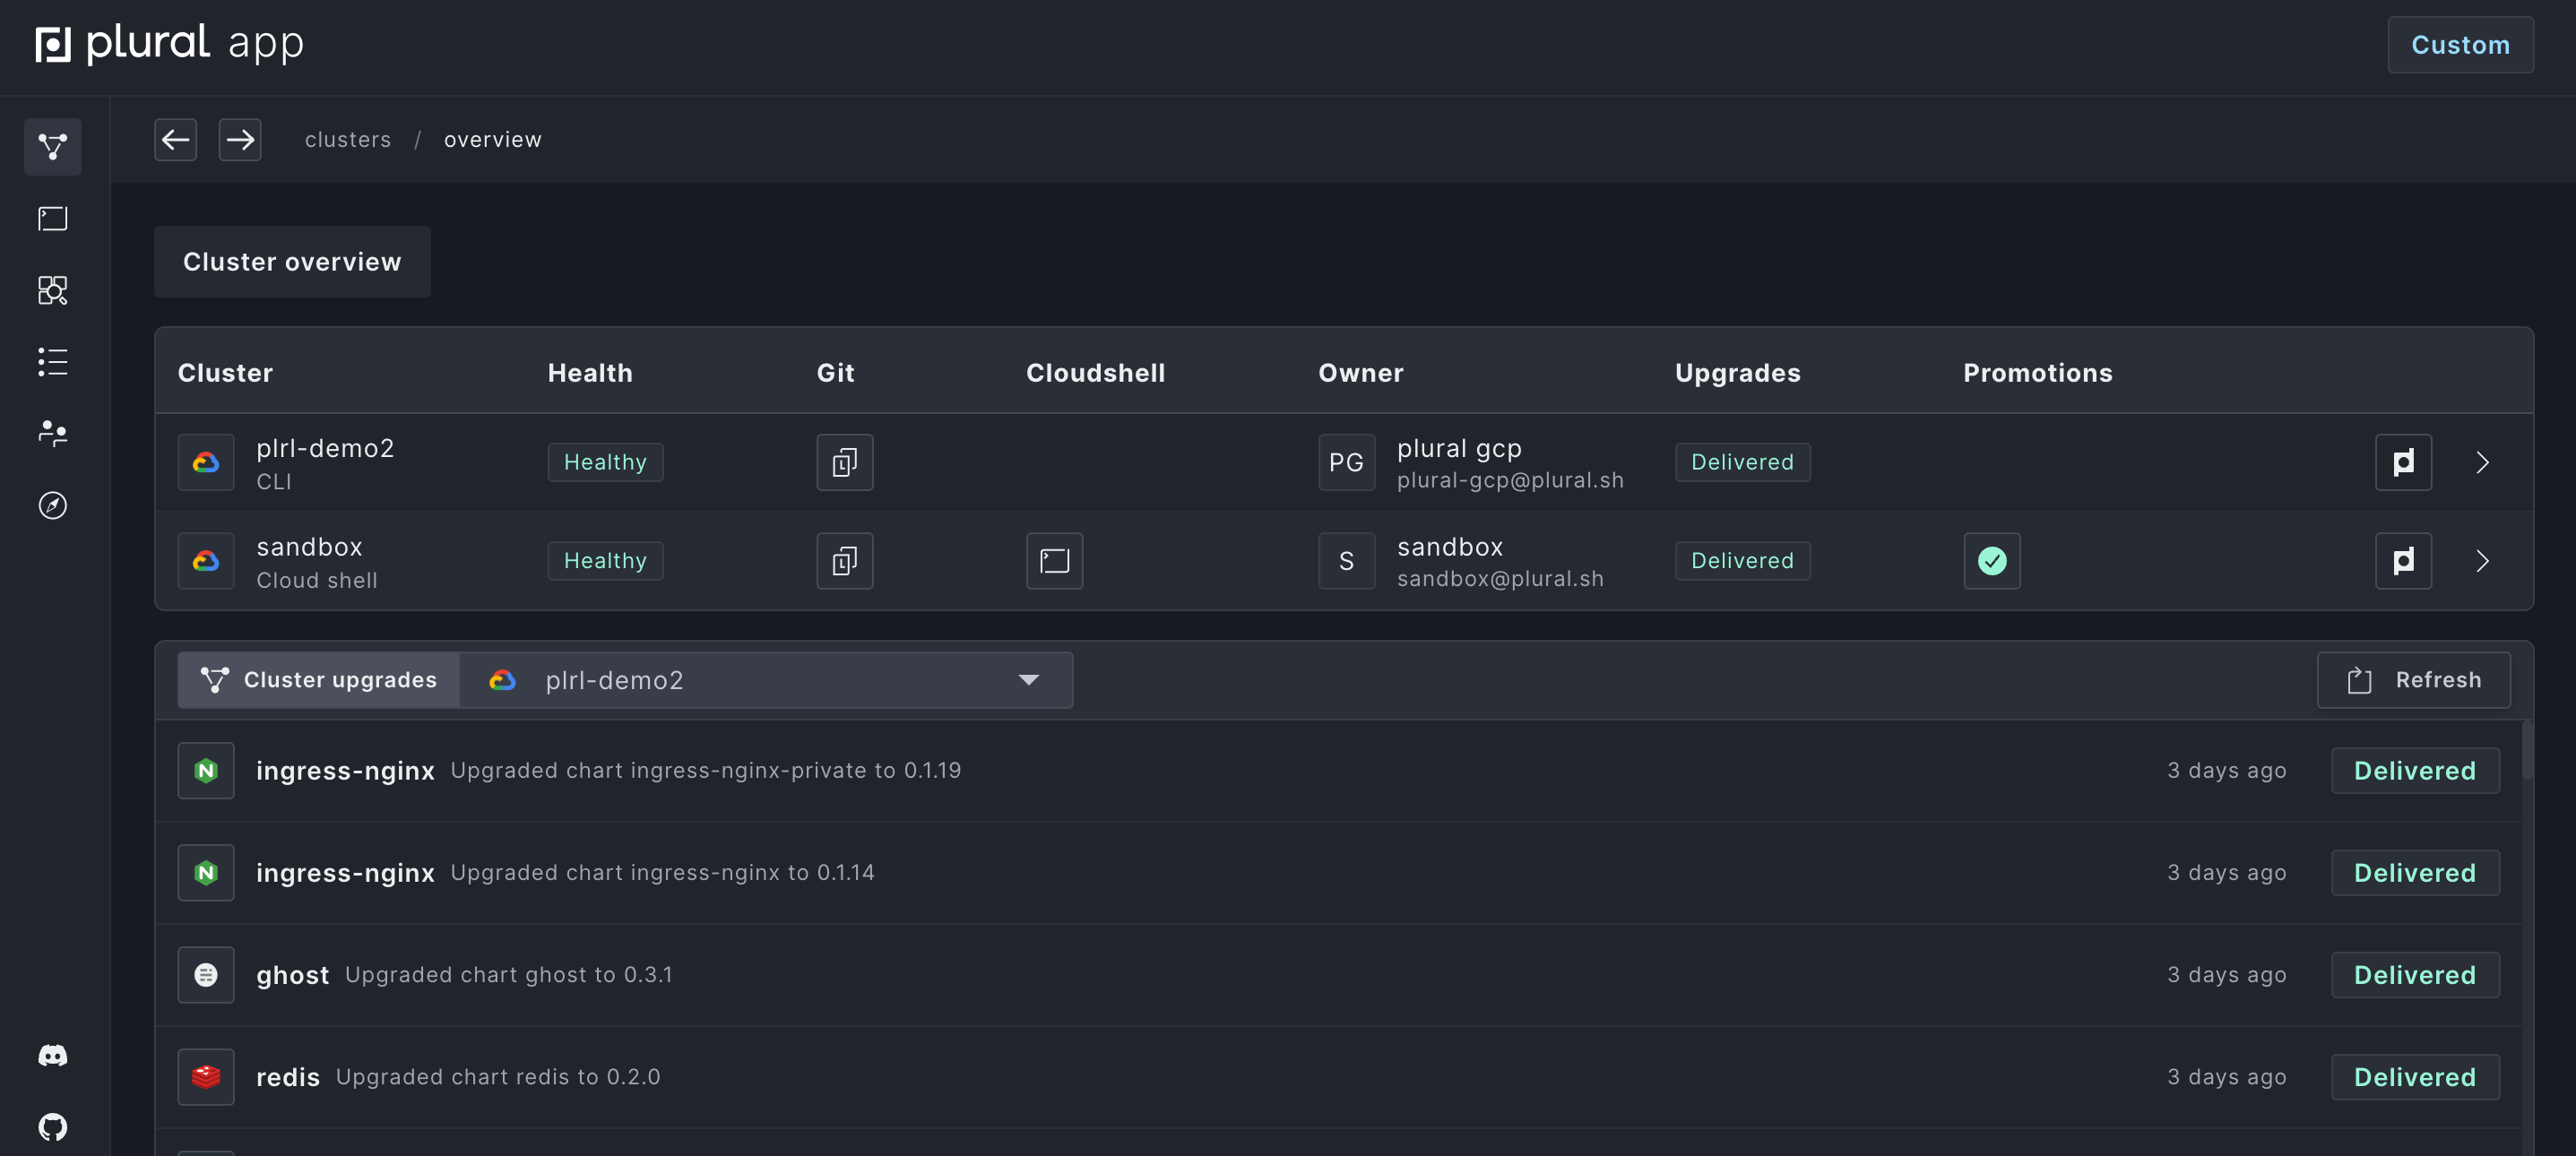
The Clusters tab on your main Plural account will show all clusters that you have access to. From here, you can manage user access, navigate to a cluster's Cloud Shell, set Upgrade Channels for applications, and more.
Setting up Promotions
One major benefit of setting up multiple clusters is the ability to promote versions of different applications between clusters. Assuming both clusters are on the same provider, you can try out new versions of applications in a development cluster, and promote to production when you're ready.
You can set up promotions either in the browser or via the Plural CLI.
CLI Setup
To set up promotions via the CLI, you can first run plural clusters list to see all available clusters and associated IDs. From there, you can run:
plural clusters depend <source_cluster_ID> <destination_cluster_ID>
where source is your development cluster and destination is your production cluster.
To run a promotion, use:
plural clusters promote
This will propagate versions for all apps from your source cluster to your destination cluster.
UI Setup
For a full demonstration of in-browser cluster promotion, check out our demo video or read on below.
To do this from the Plural UI, navigate to the Clusters Overview tab. Choose the cluster you want as your destination cluster, and click into the Cluster details page.
Click the "Set up promotions" button, select your source cluster, and click the Save button.
You can then click the "Promote" button to see pending upgrades and execute a promotion.
Alternatively, you can promote from the Clusters Overview page by clicking the green checkmark in the clusters table.
