Plural CD In-Browser Quickstart
Deploying your services using the Plural Console UI.
Overview
This guide goes over how to deploy your services with Plural using the Plural Console UI. At the end of this tutorial, you will have:
- Provisioned new clusters, and/or deployed the Plural Deployment Operator on your existing clusters.
- Imported the Git repositories containing your code and manifests.
- Deployed your code onto your clusters of choice.
- Optionally updated any configurations and permissions for the clusters and services.
in under 30 minutes, all within your browser. You can see the process in the video here or follow the instructions step-by-step:
Onboard to Plural and install the Plural Console
If you haven't already, you'll need to follow the Plural guide to install Console. You can use the guide for the in-browser Cloud Shell or the CLI to get started.
Log in to Console and Add Clusters
Once you've logged in to Plural Console, you can click the "Continuous deployment" tab to set up your clusters. By default, you should see the cluster that your Console is deployed on.
To deploy additional clusters, click the "Create cluster" button in the top right. To spin up a new cluster, fill in the required fields:
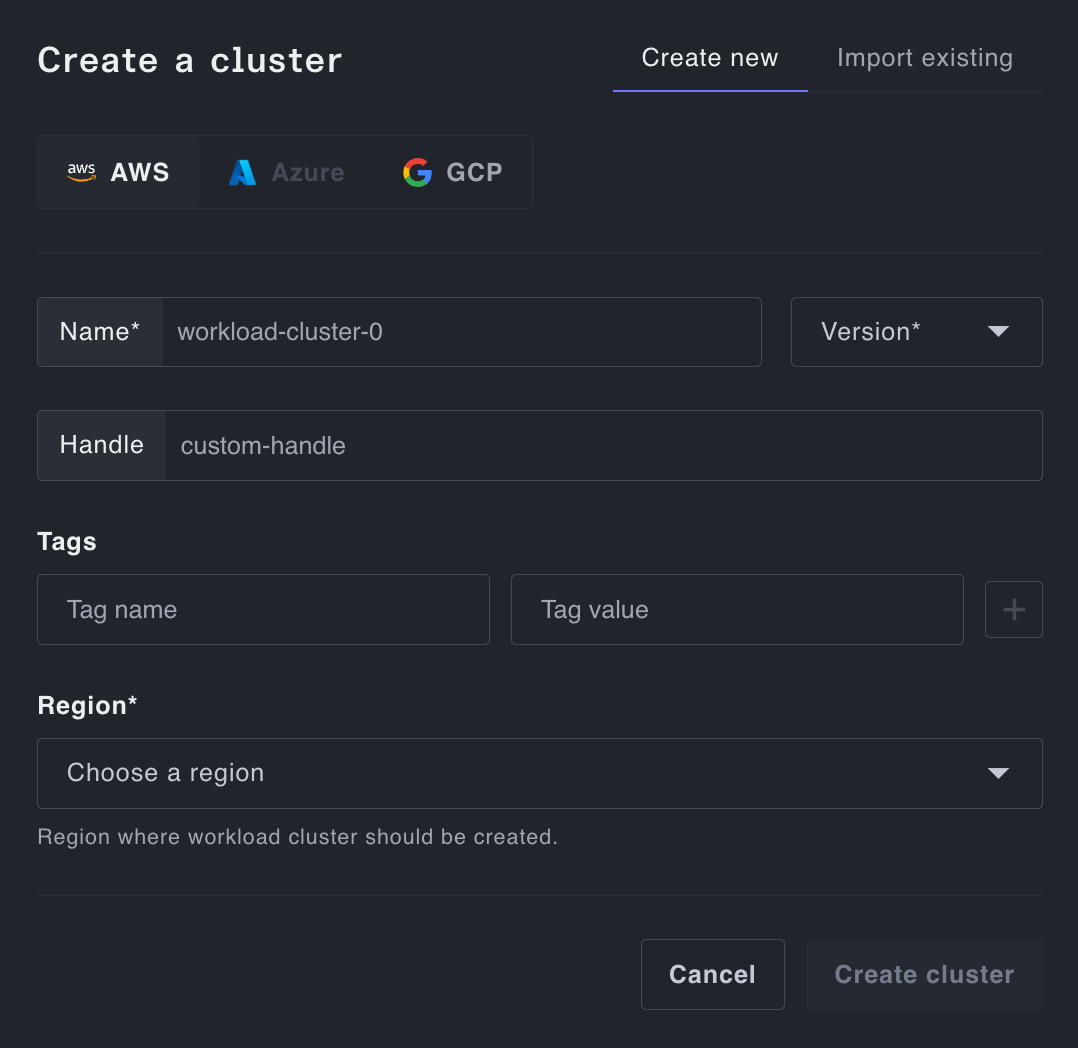
To import an existing cluster, select the "Import existing" toggle and add a name, handle, and any tags. You then need to run the following command on the cluster itself to install the Plural Deploy Operator:
plural cd install --url https://<CONSOLE_URL>/ext/gql --token <TOKEN>
Make sure your kubeconfig points to the desired cluster for import. More information is available in the guide for existing clusters.
Once you've added the required clusters, you should see them populated on the "Clusters" subtab within your Console.
Import Git Repositories and Deploy services
You'll need to then import the Git repository containing your service and the associated Kubernetes manifests. Click the "Git repositories" subtab, and hit the "Import Git" button in the top right.
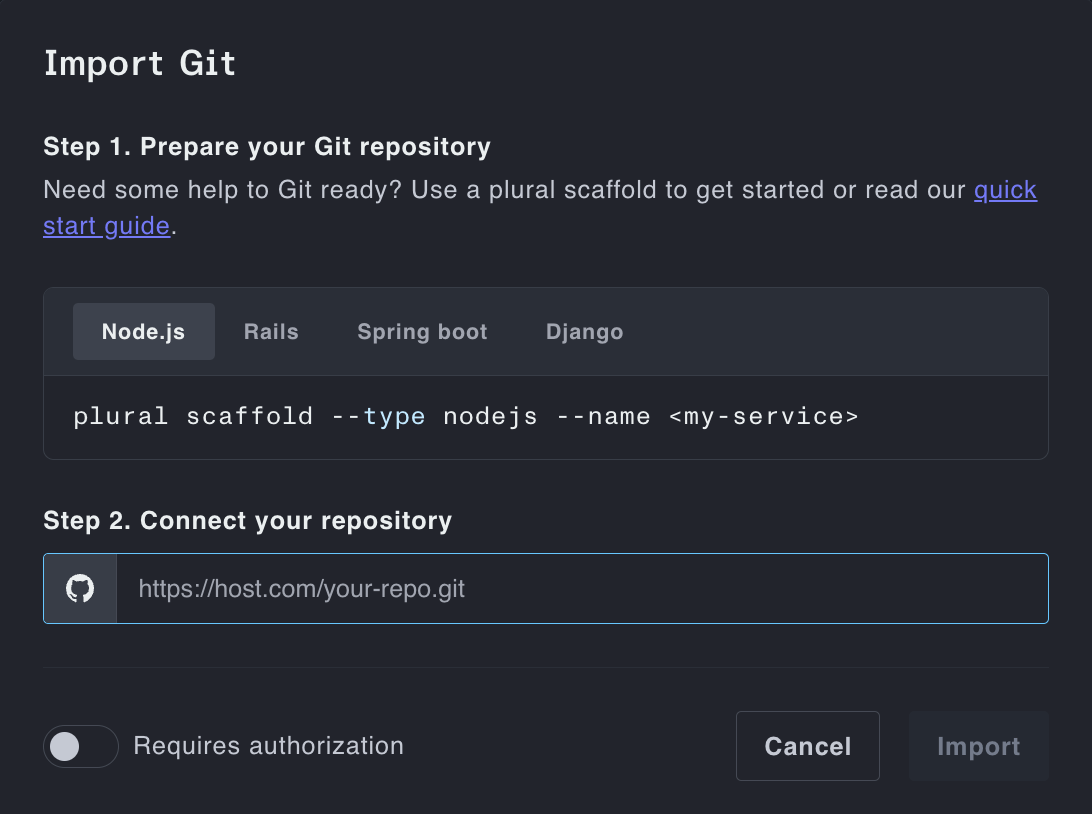
Add the url of the repo and authorization if necessary, and hit import. Once your service is pullable, you can deploy it to your clusters.
Navigate to the "Services" subtab and click "Deploy service". Add a name and namespace and select the cluster you want to deploy to. You can then select the relevant repository and add any secrets necessary to parameterize the deployment.
Your service should populate initially as Stale until your components are Ready, at which point they will flip to Healthy.
Congratulations! You've deployed your first service with Plural.